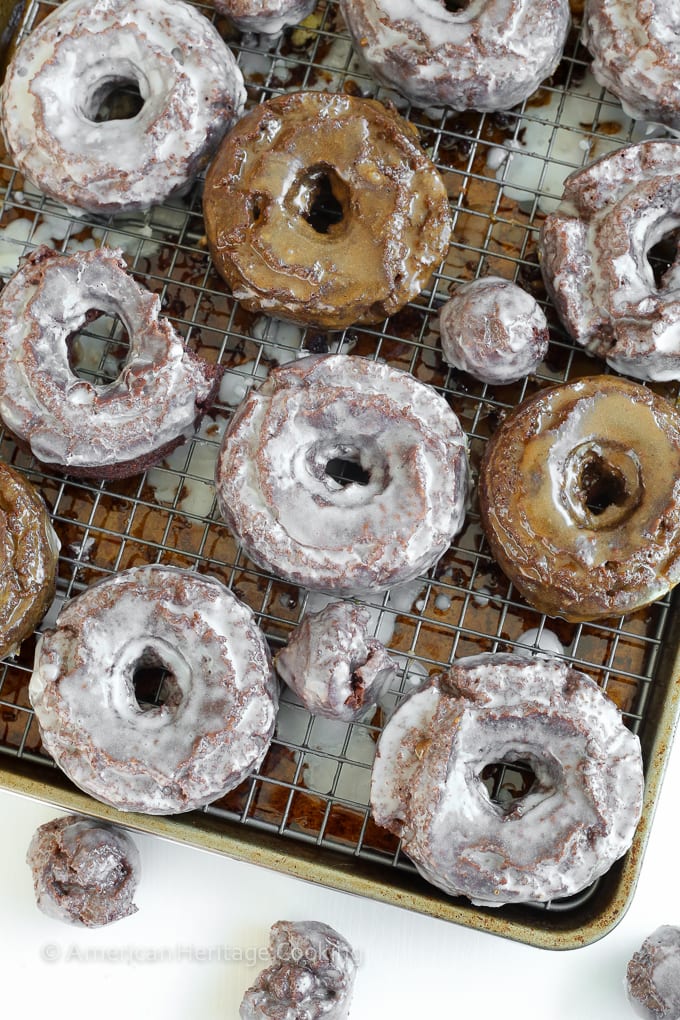
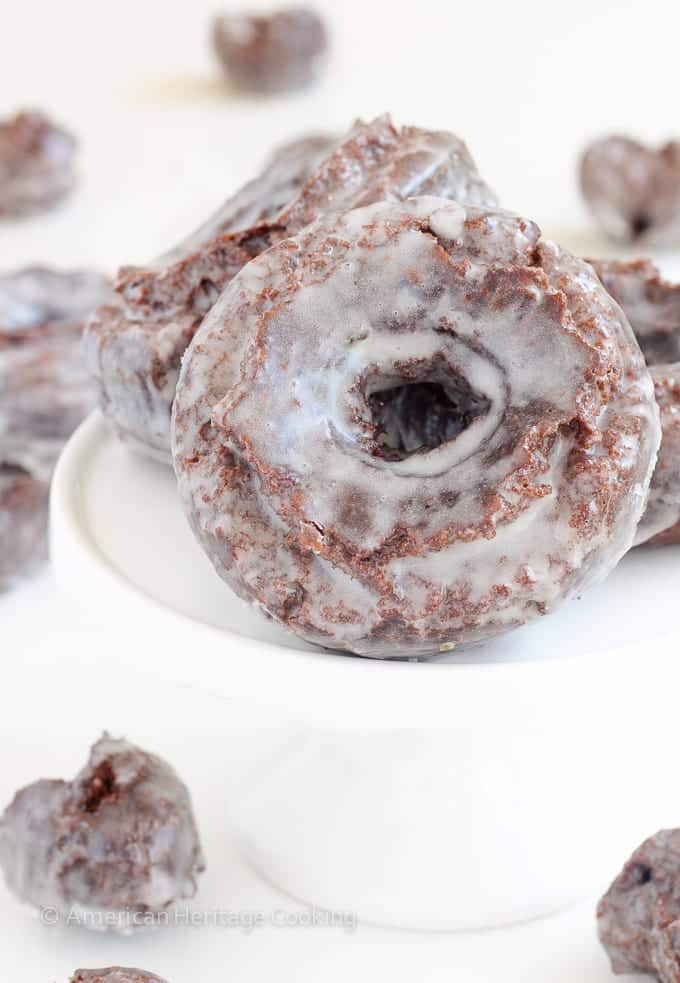
These old fashioned chocolate cake donuts are light and perfectly cakey with an explosion of chocolate flavor! The glaze gives them just a little extra sweetness. Perfection.

Old Fashioned Chocolate Cake Donuts are my favorite donuts of all time.
Of All Time.
When Krispy Kreme in Atlanta stopped serving chocolate cake donuts, I stopped going to KK. True story.
In case you’ve missed half of my posts ever, chocolate is my love language.
I have an obsession with recreating my favorite chocolate desserts and making them the BEST: chocolate ice cream, hot chocolate, death by chocolate cupcakes, quadruple chocolate pudding cookies, and on and on.
So you know that once I got over my fear of frying with the sour cream cake donuts, I HAD to create the perfect old fashioned chocolate cake donut.
Had to.
These are better than Krispy Kreme’s chocolate cake donuts, and they are better than Dunkin Donuts.
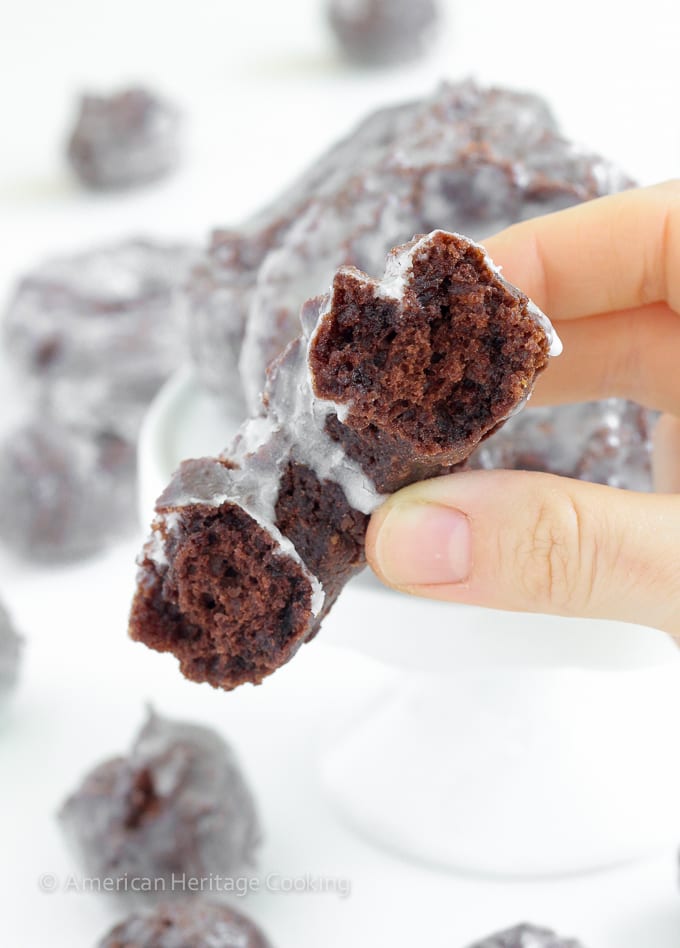
They are light, yet cakey; chocolatey, yet perfectly sweet; they melt in your mouth like your favorite yeast donut, yet have substance like your favorite cake donut.
I know…That’s a lot to process. I’ll give you a minute.
The secret to the intense chocolate flavor, without the weight of adding liquid chocolate, is using the best Dutch processed cocoa powder you can lay your hands on (I use Droste), a little espresso powder, and a little extra salt.
Please don’t skimp on the salt and then complain about the dull chocolate flavor. Salt is the ultimate flavor enhancer. Too much, and it’s salty, but use the perfect amount, and it makes all the other flavors pop. It’s like real life fairy dust.
Droste cocoa powder is also darker than a lot of other Dutch processed cocoa powders, which gives my donuts that rich chocolate color AND flavor. It is worth the investment.
Trust me. I’ve got your Sunday morning breakfast handled.
I am going to include the same tips I gave you in my Sour Cream Cake Donuts because they still apply. Think of them like the golden rules of donuts. Mmmkay?
Some keys to donut success:
- Keep the dough cold. Roll and cut it quickly to keep the baking powder from starting to react with the sour cream. Double acting baking powder will react again when fried, but let’s save all the expansion power for later, shall we.
- Use canola oil or some other neutral tasting oil that has a high smoke point.
- Monitor your oil temperature. 340° F is too cold – I don’t care what ChefSteps says; it’s too damn cold. Your donuts will be greasy. 380° F is too damn hot. The outside will be dark and awful while the inside is still gooey. Umm gross. 355°-360° F is your target range, or happy place, if you will. Adjust your heat as it approaches the boundaries. Don’t be afraid to turn off the stove. This is the great thing about frying. If the oil temperature isn’t where you want it, just wait. So liberating.
- Do be careful. The oil looks so happy and peaceful in there, but I can assure you that 350° F oil is VERY hot. I have the scars from work to prove it. Carefully use the slotted spoon to place the donut in the oil and to remove it. I gently drop it in the oil with my hand so that it slips inside, but I have been trained to have no fear. And the burns to prove it….
- May I remind you that oil and water do not mix. When water gets into hot oil, it splatters violently. If this happens, back away. Quickly. This is easily avoidable if you dry all your utensils after rinsing them off. If there is any water collected on the top of your dough, which there shouldn’t be if you properly wrapped them, then blot it off before putting it in the oil.
- Place your fried donuts on a wire rack over a baking sheet or towels to catch the extra oil. This will keep the bottoms crispy. There will be no soggy bottoms on our donuts!
- Dip the donuts in the glaze while they are still warm so you don’t need to heat up your glaze. People say to use chopsticks. Come on. Isn’t life hard enough? Just use your fingers. It’ll toughen them up. It’s good for you. My Dad taught me that.
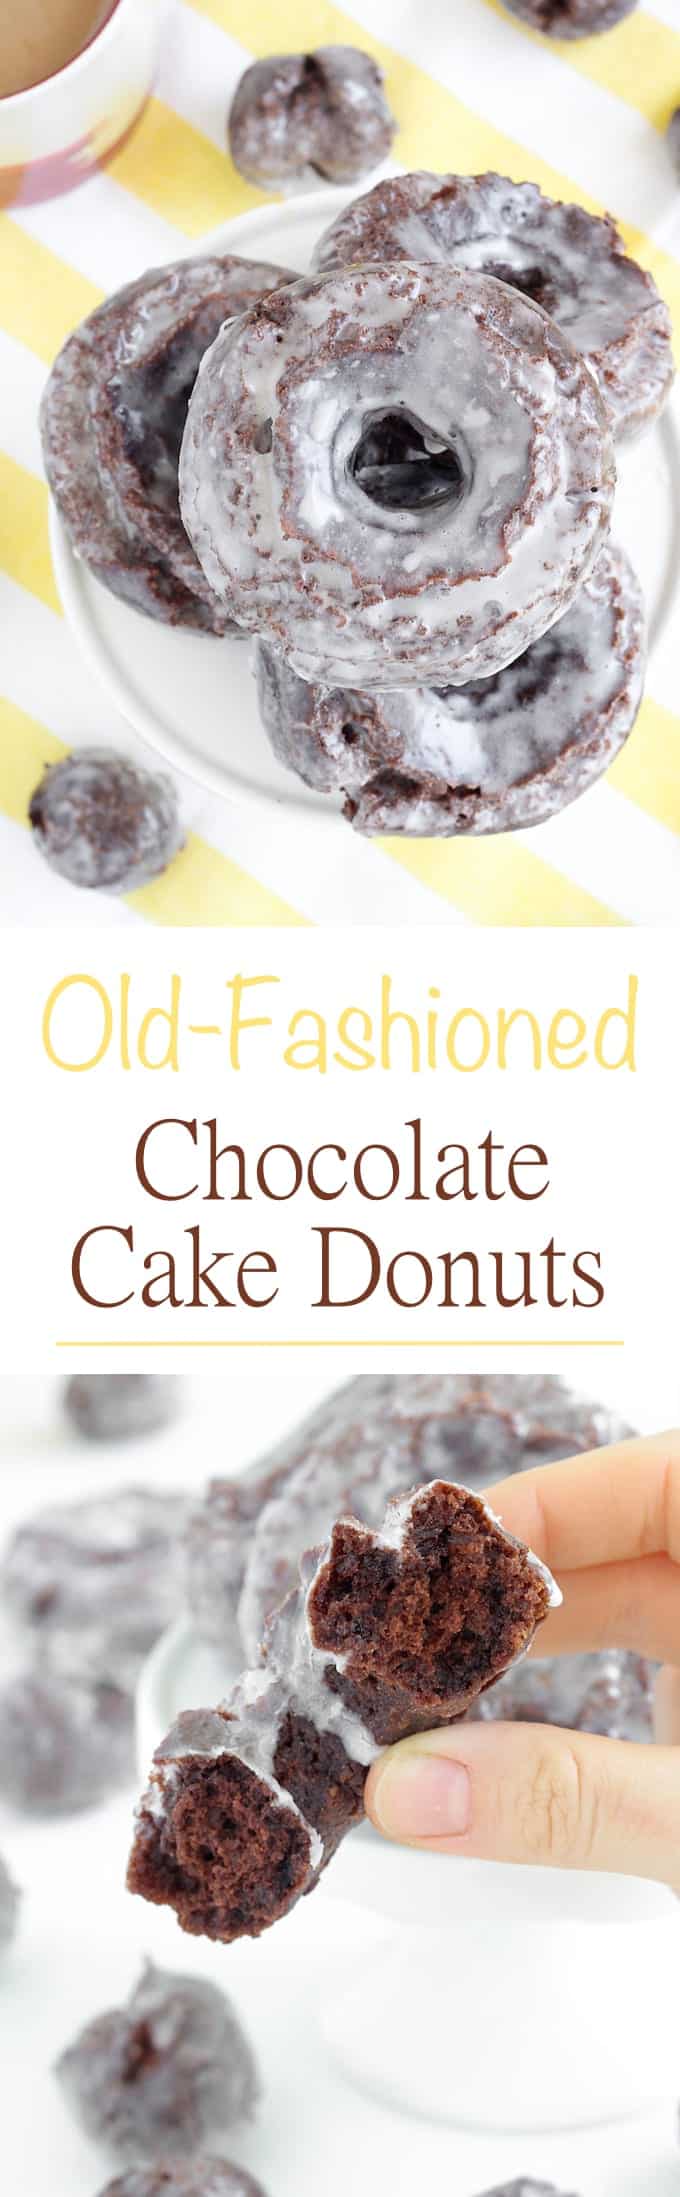
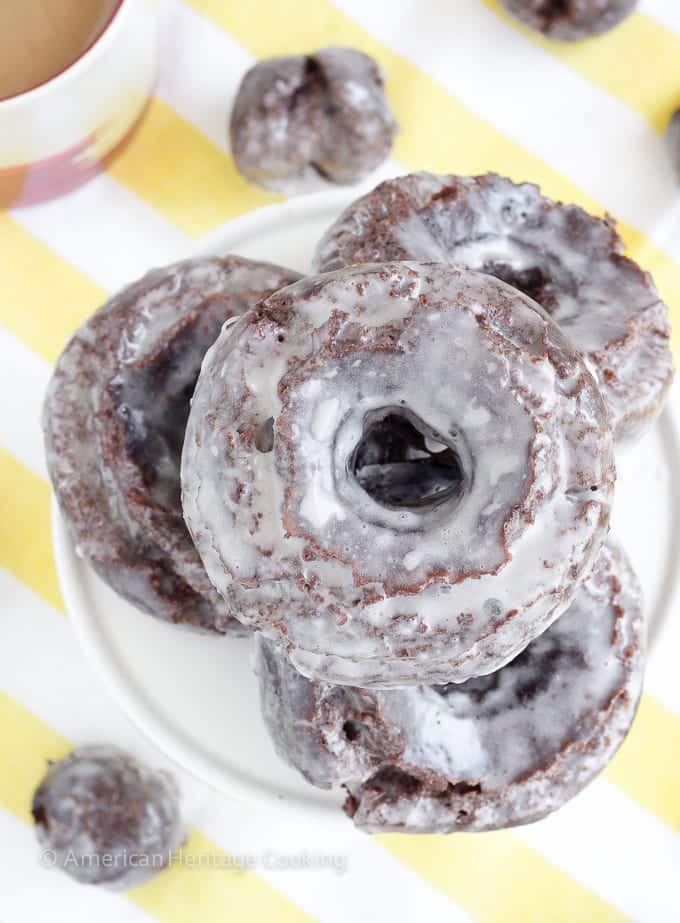
These chocolate cake donuts are light and perfectly cakey with an explosion of chocolate flavor! The glaze gives them just a little extra sweetness. They are light, yet cakey; chocolatey, yet perfectly sweet; they melt in your mouth like your favorite yeast donut, yet have substance like your favorite cake donut.
Ingredients
- 260 g Granulated sugar (1 ¼ cups + 2 heaping tablespoons)
- 42 g butter, room temperature (3 tablespoons)
- 90 g egg yolks (about 5 large yolks)
- 453 g sour cream (1 ¾ cups, this is 1, 16oz container)
- 480 g pastry flour, All-Purpose flour is fine (3 ¾ cups)
- 120g Dutch processed cocoa powder
- 3/4 teaspoon espresso powder
- 15 g baking powder (1 tablespoon + ¾ teaspoon)
- 1 tablespoon + 1 teaspoon kosher salt
- 96 fl oz Oil for frying (I used canola)
- 100 g whole milk (100ML)
- 4 g kosher salt
- 400 g powdered sugar (3 ¼ cups)
Instructions
- In a large bowl sift together the pastry flour, cocoa powder, espresso powder and baking powder. Whisk in the salt to distribute. Set aside.
- Line a large mixing bowl with plastic wrap and then spray the surface of the plastic wrap. Set aside.
- In the bowl of a stand mixer fitted with the paddle attachment, beat together the granulated sugar, butter, and yolks on high speed until the mixture lightens and the volume increases, about 2 minutes.
- Stop the mixer and add the sour cream, then mix on medium until the mixture is smooth and homogenous.
- With the stand mixer on low, gradually add the dry ingredients to the bowl a large spoonful at a time. Add the next spoonful when you only see a few large streaks of flour left in the bowl. Stop the mixer when the dry ingredients are fully incorporated. You want to do this as quickly as possible so that not too much gluten develops, which will make tunnels in your cake and it will be tough.
- Transfer the dough to the plastic wrap lined bowl, spray the top of the dough with nonstick spray and then fold the edges of the plastic over the top to cover.
- Refrigerate for 60 minutes. At this point the dough can be held in the fridge for up to 1 week.
- Line a baking half-sheet pan with parchment paper and spray the paper with nonstick spray and set aside.
- Lightly dust a work surface with flour. While the dough is still in the bowl dust the top of the dough with flour. Turn the dough out onto your floured work surface, floured side down. Lightly dust the top with more flour.
- Working quickly to keep the dough cool, roll out the dough to ½ inch thick.
- Brush any excess flour from the top of the dough. Use a 3-inch and 1 ¼ - inch ring cutters to cut the donuts and holes. Lightly tap the rings in flour before cutting each donut. Place the donuts and donut holes on the prepared sheet pan. [After I cut all my donuts, I went back and cut more “holes” with the small cutter from the scraps of dough. Waste not, want not!]
- Cover sheet pan with plastic wrap, but be sure not to let the plastic touch the top of the donuts. Chill in the refrigerator for 30 minutes.
- While your donuts chill, make the glaze. In a medium bowl whisk together the milk, powdered sugar and salt. Cover the glaze with plastic wrap directly on the surface. You can heat up the glaze over a pot of simmering water on the stove if you want it thinner. I dipped my donuts while they were still very hot, so I didn’t need to do this.
- Pour oil into a fryer or a Dutch oven, making sure the oil is at least 2 inches deep. Heat your oil to 350° F. Adjust your heat to keep the temperature between 350° - 360° F while frying. You will need a clip-on fry/candy thermometer for this. I heat my oil up to 360° F before adding a batch of donuts because the cold dough will lower the temperature of the fryer oil.
- Gently place 3 donuts in the fryer, keep the remaining donuts in the fridge. Once they rise to the surface, cook for 30 seconds and then flip them with a slotted spoon. Fry until the bottom develops a nice golden brown color, about 80 seconds. Flip it again and then fry for another 80 seconds or until the color is a nice even golden brown. Transfer to a wire rack set over a sheet pan or paper towels. Donut holes fry for 30 seconds then flip, then another 60 seconds, then flip, then another 40-60 seconds. They will puff up and be golden brown all over. You can cook them for the same amount of time as the full donuts but they will be a little dry. [Before I fried all of my donuts, I tested one and broke it open to make sure it was cooked. ]
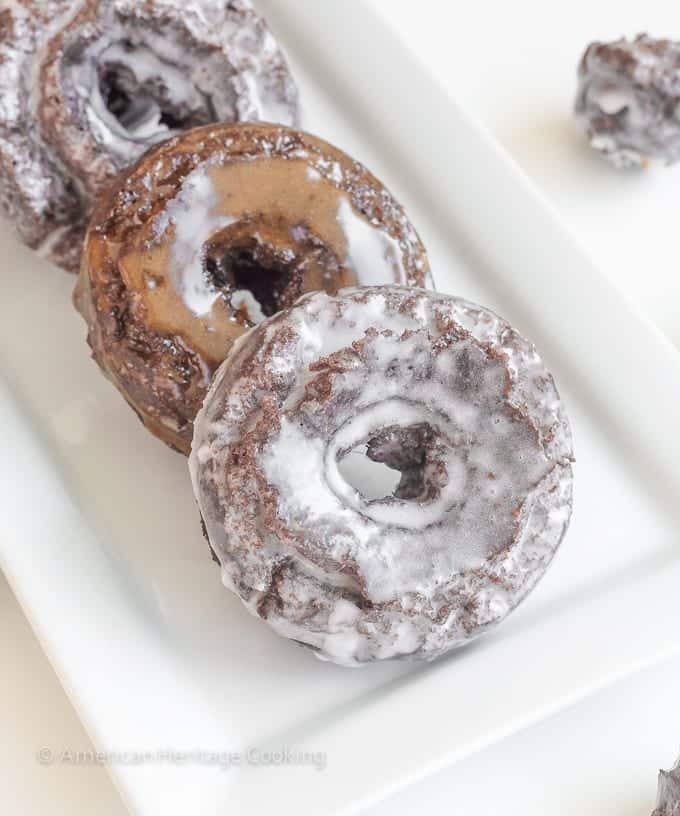
- Once the donut is just barely cool enough to handle (I only waited about 20 seconds but I have no feeling left in my fingertips…), dip the donut in the glaze and place back on the wire rack. Dipping a hot donut will give you a nice, even glaze that isn’t too thick or too thin! I completely coat the donut holes in the glaze for extra yummy.
- Store in an airtight container overnight but they are best consumed the day they are fried…with coffee.
Got Breakfast on your mind?
Old-Fashioned Sour Cream Cake Donuts
 Overnight Oats – Bircher Muesli

Peanut Butter Banana Streusel Muffins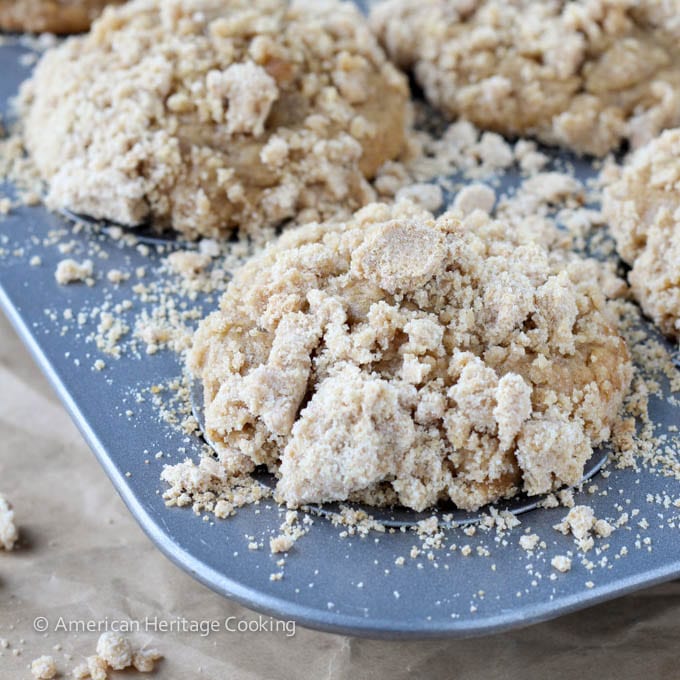
 Maple Steel Cut Oats Pumpkin Parfait

Original article: Old Fashioned Chocolate Cake Donuts
©2019 American Heritage Cooking. All Rights Reserved.
The post Old Fashioned Chocolate Cake Donuts appeared first on American Heritage Cooking.
Original article: Old Fashioned Chocolate Cake Donuts.